Why You’ll Love This Italian Biscotti Recipe
If you’ve ever tasted authentic Italian biscotti, you know why this recipe is a must-try. The delightful crunch and subtle sweetness make each bite an experience.
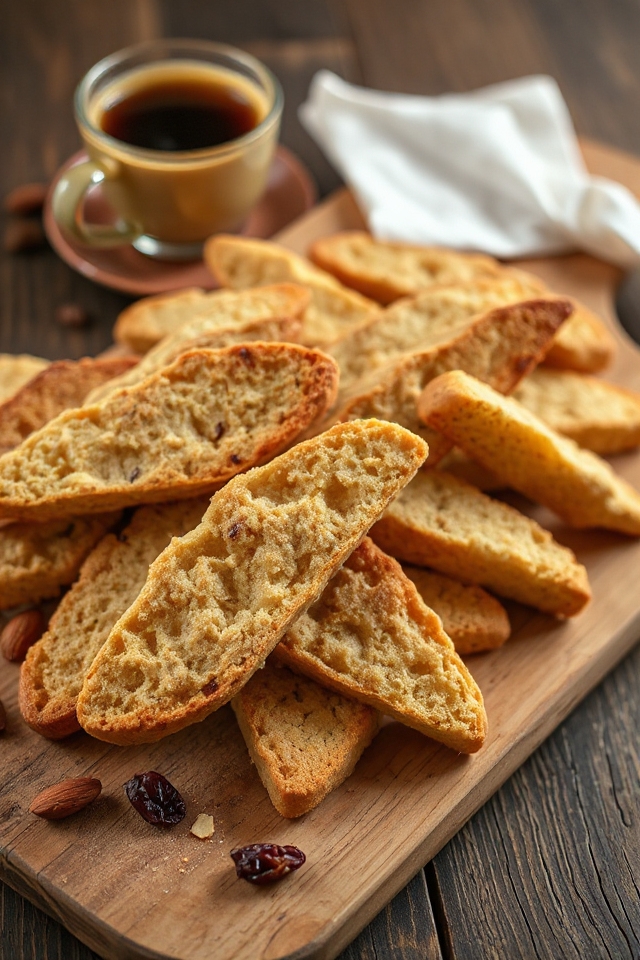
I love how they pair perfectly with coffee or tea, enhancing every sip. This recipe is simple yet delivers impressive results; you won’t believe how easy it’s to create these bakery-quality treats at home.
Plus, the aroma that fills your kitchen while they bake is heavenly! Trust me, once you try these biscotti, you’ll want to share them with everyone.
They’re not just cookies; they’re a little piece of Italy on your plate!
Ingredients of Italian Biscotti
When it comes to making Italian biscotti, having the right ingredients is key to achieving that perfect crunchy texture and delightful flavor. The good news? Most of these ingredients are pantry staples that you might already have on hand.
So, let’s gather what we need to whip up these delicious treats. You’ll be amazed at how a few simple components can come together to create something so special.
Here’s what you’ll need:
- 2 cups all-purpose flour
- 1 cup granulated sugar
- 1 teaspoon baking powder
- 1/2 teaspoon salt
- 3 large eggs
- 1 teaspoon vanilla extract
- 1 teaspoon almond extract (optional, but highly recommended for that authentic flavor)
- 1 cup chopped nuts (like almonds or hazelnuts) or dried fruit (like cranberries or apricots) – pick your favorite!
Before you plunge into baking, let’s talk a bit about the ingredients. First off, using fresh eggs is super important because they help bind everything together, giving the biscotti that nice, sturdy structure.
And don’t skimp on the extracts; they really elevate the flavors. If you can, go for pure vanilla and almond extracts instead of imitation ones—it makes a world of difference in taste.
Oh, and if you’re feeling adventurous, try adding a pinch of cinnamon or even a sprinkle of orange zest for a fun twist! Just remember, the beauty of biscotti is in its versatility, so feel free to mix and match your favorite nuts and dried fruits.
The more personal touches you add, the more unique your biscotti will be. Happy baking!
How to Make Italian Biscotti

Making Italian biscotti is a delightful journey that starts with mixing the right ingredients. First off, grab those 2 cups of all-purpose flour and toss them into a large mixing bowl. Next, add in the 1 cup of granulated sugar, 1 teaspoon of baking powder, and 1/2 teaspoon of salt. Give these dry ingredients a quick whisk to blend them together. If only all life’s problems could be solved with a whisk, right?
Now, in another bowl, crack open 3 large eggs and whisk them until they’re a bit frothy. Add in the 1 teaspoon of vanilla extract and, if you’re feeling fancy, the optional 1 teaspoon of almond extract. Mix it all together and then pour this eggy goodness into the dry ingredients.
Now for the fun part—mixing! Stir until everything is just combined; you don’t want to overdo it. Then, fold in your choice of 1 cup of chopped nuts or dried fruit. I usually opt for a mix of almonds and cranberries because, let’s be real, who doesn’t love a little tartness to balance out the sweetness?
Once everything is well mixed, it’s time to shape your dough. Divide it into two logs, about 12 inches long and 3 inches wide. Place these logs on a baking sheet lined with parchment paper, giving them a little room to spread. Bake in a preheated oven at 350°F (about 175°C) for 25-30 minutes, until they’re golden brown. The aroma wafting through your kitchen will have you dreaming of Italian cafés and cozy afternoons.
After that initial bake, you’ll want to let these logs cool for about 10 minutes. Then comes the moment of truth: slice the logs diagonally into 1-inch thick pieces. Place them cut-side down back on the baking sheet and pop them back in the oven for another 10-15 minutes, or until they’re nice and crunchy. Just imagine that satisfying crunch as you bite into them.
Let them cool completely on a wire rack, and voilà, you have your very own batch of Italian biscotti. Perfect for dunking in coffee or simply enjoying on their own—if they last that long, that is!
Italian Biscotti Substitutions & Variations
Now that you’ve mastered the basics of creating Italian biscotti, let’s explore some exciting substitutions and variations to make this classic treat your own.
You can swap out almonds for walnuts or pistachios for a unique flavor. If you prefer a sweeter touch, try adding dried cranberries or chocolate chips.
For a hint of spice, incorporate cinnamon or anise. Want a citrusy zing? Zest some orange or lemon into the dough.
You could even experiment with different flours, like almond or whole wheat. The possibilities are endless, so don’t hesitate to get creative and personalize your biscotti!
What to Serve with Italian Biscotti
Italian biscotti are delightful on their own, but pairing them with the right accompaniments can elevate your experience.
I love serving them with a steaming cup of espresso or a rich hot chocolate; the flavors meld beautifully. If you prefer something lighter, a fresh cup of tea works wonders too.
For a special touch, I sometimes drizzle melted chocolate over the biscotti or serve them alongside a small bowl of fresh fruit. You can also enjoy them with a dollop of mascarpone or a spread of nut butter.
Trust me, these pairings make every bite even more enjoyable!
Additional Tips & Notes
When you’re baking biscotti, it’s helpful to remember a few key tips to guarantee they turn out perfectly every time. First, make sure your eggs are at room temperature; this helps create a better texture.
Don’t skip the double-baking step; it guarantees that delightful crunch. If you’re using nuts or chocolate, chop them into small pieces for even distribution.
Experiment with flavors—adding citrus zest or spices can elevate your biscotti. Finally, let them cool completely before storing to maintain crispness.
Trust me, these small details make a significant difference in your final product. Enjoy your baking adventure!